Fleethunt implemented the OAuth 2.0 authentication protocol so you can easily build an app on top of Fleethunt.
Beyond the added security and scalability, the Fleethunt OAuth flow will make your app visible to all customers in the Fleethunt Dashboard and provide a simple way for customers to install your app from Fleethunt or from your own website.
OAuth flow description
The goal of the OAuth flow is to get an access_token that will be used to authenticate each request you make to Fleethunt Public API. Admins will authorize your app to access their Fleethunt data.
- The flow is started when Admins install an app from the Fleethunt's Dashboard. That's when Fleethunt redirects the Admin to your install_uri.
This step is often used to display a Settings page, instructions on how to use the app, any useful information for the Admin. Even if it doesn't do anything specific, it must forward the user to OAuth Authorize endpoint. - Once redirected to Fleethunt, Admins will authorize your app to access their Fleethunt data. That's when Fleethunt redirects the Admin to your redirect_uri.
Use this step to get the OAuth authorization code. - Once redirected to your redirect_uri, you will need to exchange the OAuth authorization code for an access_token.
Steps
- Get your OAuth credentials
- Implement the Install URI endpoint (Optional)
- Implement the Redirect URI endpoint
- Retrieve a permanent access_token
- Store the access_token
1. Get your OAuth credentials
A client_id and a client_secret are needed to use the OAuth flow.
To create your OAuth application on Fleethunt, you will need to provide both an install_uri and a redirect_uri. Make sure you have them ready!
2. Implement the Install URI endpoint (Optional)
The first endpoint we will implement is the install_uri one and will look like this: https://your.server.com/fleethunt/oauth/install.
As seen in the OAuth flow description section, Fleethunt will fetch the install_uri endpoint when an Admin starts the OAuth flow
/**
 *  server.js
 */

...

/**
 *  Endpoint requested by Fleethunt as the first step of the Install flow
 */
app.get('/fleethunt/oauth/install', (req, res) => {
  // Fleethunt endpoint that we need to redirect this request to:
  const fleethuntUrl = BASE_URL;

  // client_id given by Fleethunt when you registered your app:
  const clientId = 'YOUR_CLIENT_ID';

  // Callback endpoint given to Fleethunt when registering your app (see next step)
  const callbackUri = 'https://your.server.com/fleethunt/oauth/callback';

  // The final url composed of:
  // - clientId
  // - callbackUri
  // - response_type=code
  // - scope=public_api
  const finalUrl = fleethuntUrl
                   + '?client_id=' + clientId
                   + '&redirect_uri=' + callbackUri
                   + '&response_type=code'
                   + '&scope=public_api';

  // Redirect immediately this request to the finalUrl
  res.redirect(finalUrl);
});
The install_uri endpoint will have to redirect your user to the following URL:
The required parameters are :
- client_id: provided by Fleethunt.
- redirect_uri: will be implemented in step 3.
- response_type: must be code.
- scope: must be public_api.
- Optionally, a state can also be added:
- state: A string value created by your app to maintain state between the request and callback. This parameter should be used for preventing Cross-site Request Forgery and will be passed back to you, unchanged, in your redirect_uri.
Calling https://services.fleethunt.ca/v1/oauth/authorize will display the approval popup:
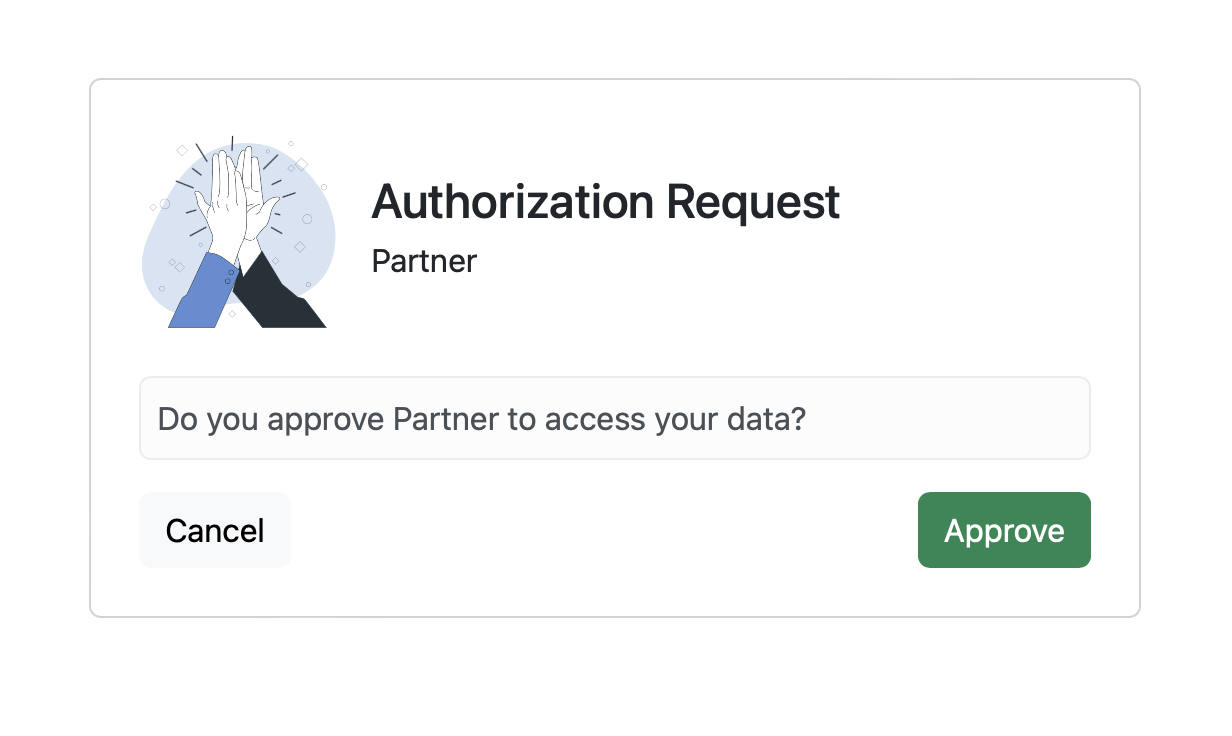
3. Implement the Redirect URI endpoint
Once the Admin clicks on the green Authorize button on the previous popup, they will be forwarded to your redirect_uri endpoint.
The URL will look like this: https://your.server.com/fleethunt/oauth/callback
Fleethunt will provide an OAuth code in the query param that will expire 10min after being generated. This OAuth code needs to be exchanged for a permanent access_token via the Public API (see following step).
After that step is done, the OAuth flow is completed!
/**
 *  server.js
 */

...

/**
 *  Endpoint requested by Fleethunt after Admin authorizes your app,
 *  with the OAuth code needed to get the final `access_token`
 */
app.get('/fleethunt/oauth/callback', (req, res) => {
  const oauthCode = req.query.code;

  // will be implemented at next step!
  retrieveAccessToken(oauthCode);

  // At this point, the flow is over.
  // You can display your own success screen:
  const successUrl = YOUR_SUCCESS_URL;
  res.redirect(successUrl);
});
4. Retrieve a permanent access_token
Now that the flow is over, we need to exchange the OAuth code for a permanent access_token. This access_token will then be used as a Bearer token in each Public API request you'll make.
Retrieving this access_token can be done by sending an HTTP POST request to https://services.fleethunt.ca/v1/oauth/token with the following body params:
- code: the OAuth code sent by Fleethunt in step 3.
- redirect_uri: the URL defined in step 3.
- client_id: given by Fleethunt's team when you registered your app.
- client_secret: given by Fleethunt's team when you registered your app.
- grant_type: must be authorization_code.
/**
 *  server.js
 */

...

// We'll need the https module to send HTTP requests
const https = require('https')

// Takes an oauthCode given by Fleethunt,
// exchanges it for a permanent access_token,
// and associates it to the current user
const retrieveAccessToken = (oauthCode) => {
  // Define the HTTP options:
  let options = {
    host: 'services.fleethunt.ca/v1/',
    path: '/oauth/token',
    method: 'POST',
    headers: { 'Content-Type': 'application/json' }
  };

  // Define the request's body:
  const body = {
    'code': oauthCode,
    'redirect_uri': 'https://your.server.com/fleethunt/oauth/callback',
    'client_id': 'YOUR_CLIENT_ID',
    'client_secret': 'YOUR_CLIENT_SECRET',
    'grant_type': 'authorization_code'
  };

  // Define the POST request:
  const req = https.request(
    options,
    res => {
      let payload = '';
      res.on('data', data => { payload += data });
      res.on('end', () => {
        // the accessToken we need is in this payload response!
        const accessToken = payload.access_token;

        // will be implemented in next step!
        storeAccessToken(accessToken);
      });
    }
  );

  // Attach the body to the request and execute it
  req.write(JSON.stringify(body));
  req.end();
}
5. Store the access_token
Once the access_token is retrieved via the https://services.fleethunt.ca/v1/oauth/token URL, we need to store it on our server and associate it to the current user.
after this step, you can start sending requests to Fleethunt API as the user and access their data! Please check our API References documentation to see an other list of endpoints.